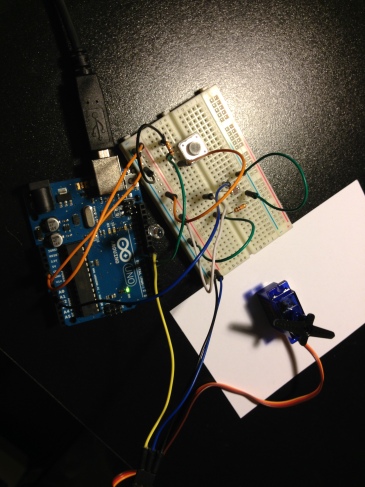
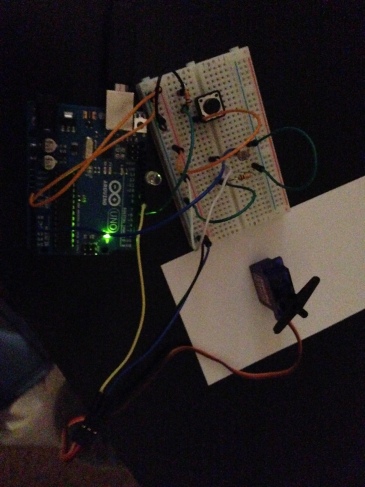
To control the servo motor I decided to use the light sensor. To stimulate the light sensor I used a LED and the push button to turn it off and on.
CODE:
int LED = 13; //set LED to pin 13
int Button = 7; //set button to pin 7
int previous_value = 0; //previous value of “value” variable
int value = 0; //setting variable value
int state = 0;//initlal value of state is 0
#include <Servo.h>
Servo myservo; // create servo object to control a servo
int potpin = 0; // analog pin used to connect the potentiometer
int val; // variable to read the value from the analog pin
void setup()
{
pinMode (LED, OUTPUT); //set 13 to output
pinMode (Button, INPUT); //button is set to 7 input
myservo.attach(9); // attaches the servo on pin 9 to the servo object
}
void loop()
{
value = digitalRead (Button); //set value to reading at pin 7
if ((value == HIGH) && (previous_value == LOW)) {
state = 1 – state;
delay (10);//delays by .01 of a second
}
previous_value = value;
if (state == 1) {
digitalWrite (LED, HIGH);//turns LED on by clicking button
}else {
digitalWrite (LED, LOW);//turns LED off by clicking button
}
val = analogRead(potpin);// reads the value of the potentiometer (value between 0 and 1023)
val = map(val, 0, 1023, 0, 179);// scale it to use it with the servo (value between 0 and 180)
myservo.write(val);// sets the servo position according to the scaled value
delay(15);// delays by .015 of a second
}


Leave a comment